Before you can make any requests to the Adfin API, you must generate an access token to authenticate your requests. Adfin uses OAuth 2.0 for secure authentication and authorisation.
Your Adfin Integration Manager will share encrypted app credentials containing your client_id and client_secret.
- Client credentials flow (for platform-to-platform communication)
- Authorization code flow (for biller authorisation on behalf of your platform)
Authentication You must supply your client_id and client_secret either in the HTTP Basic Auth header or as form parameters. If you include them in both places, they must match exactly.
The authorization header string is Basic Base64Encode(client_id:client_secret).
For example, for client ID xyz123clientid and client secret secret987654321, you’d first Base64-encode the string:
xyz123clientid:secret987654321
→ eHl6MTIzY2xpZW50aWQ6c2VjcmV0OTg3NjU0MzIx
Then your header becomes:
Authorization: Basic eHl6MTIzY2xpZW50aWQ6c2VjcmV0OTg3NjU0MzIxcurl -X POST "https://api.staging.adfin.com/api/oauth2/token" \
-H "Authorization: Basic $(echo -n 'YOUR_ID:YOUR_SECRET' | base64)" \
-H "Content-Type: application/x-www-form-urlencoded" \
-d 'grant_type=client_credentials'This flow is used when platforms need to access Adfin resources directly.
curl -X POST "https://api.staging.adfin.com/api/oauth2/token" \
-H "Content-Type: application/x-www-form-urlencoded" \
-d 'grant_type=client_credentials&client_id={your_client_id}&client_secret={your_client_secret}'Body:
- The body contains the
grant_type(set toclient_credentials) - Replace
{your_client_id}and{your_client_secret}with your credentials.
If successful, Adfin will respond with an access token:
{
  "access_token": "your_access_token",
  "token_type": "Bearer",
  "expires_in": 3600
}This flow allows your platform to request an access token after receiving an authorization code from a biller's login session.
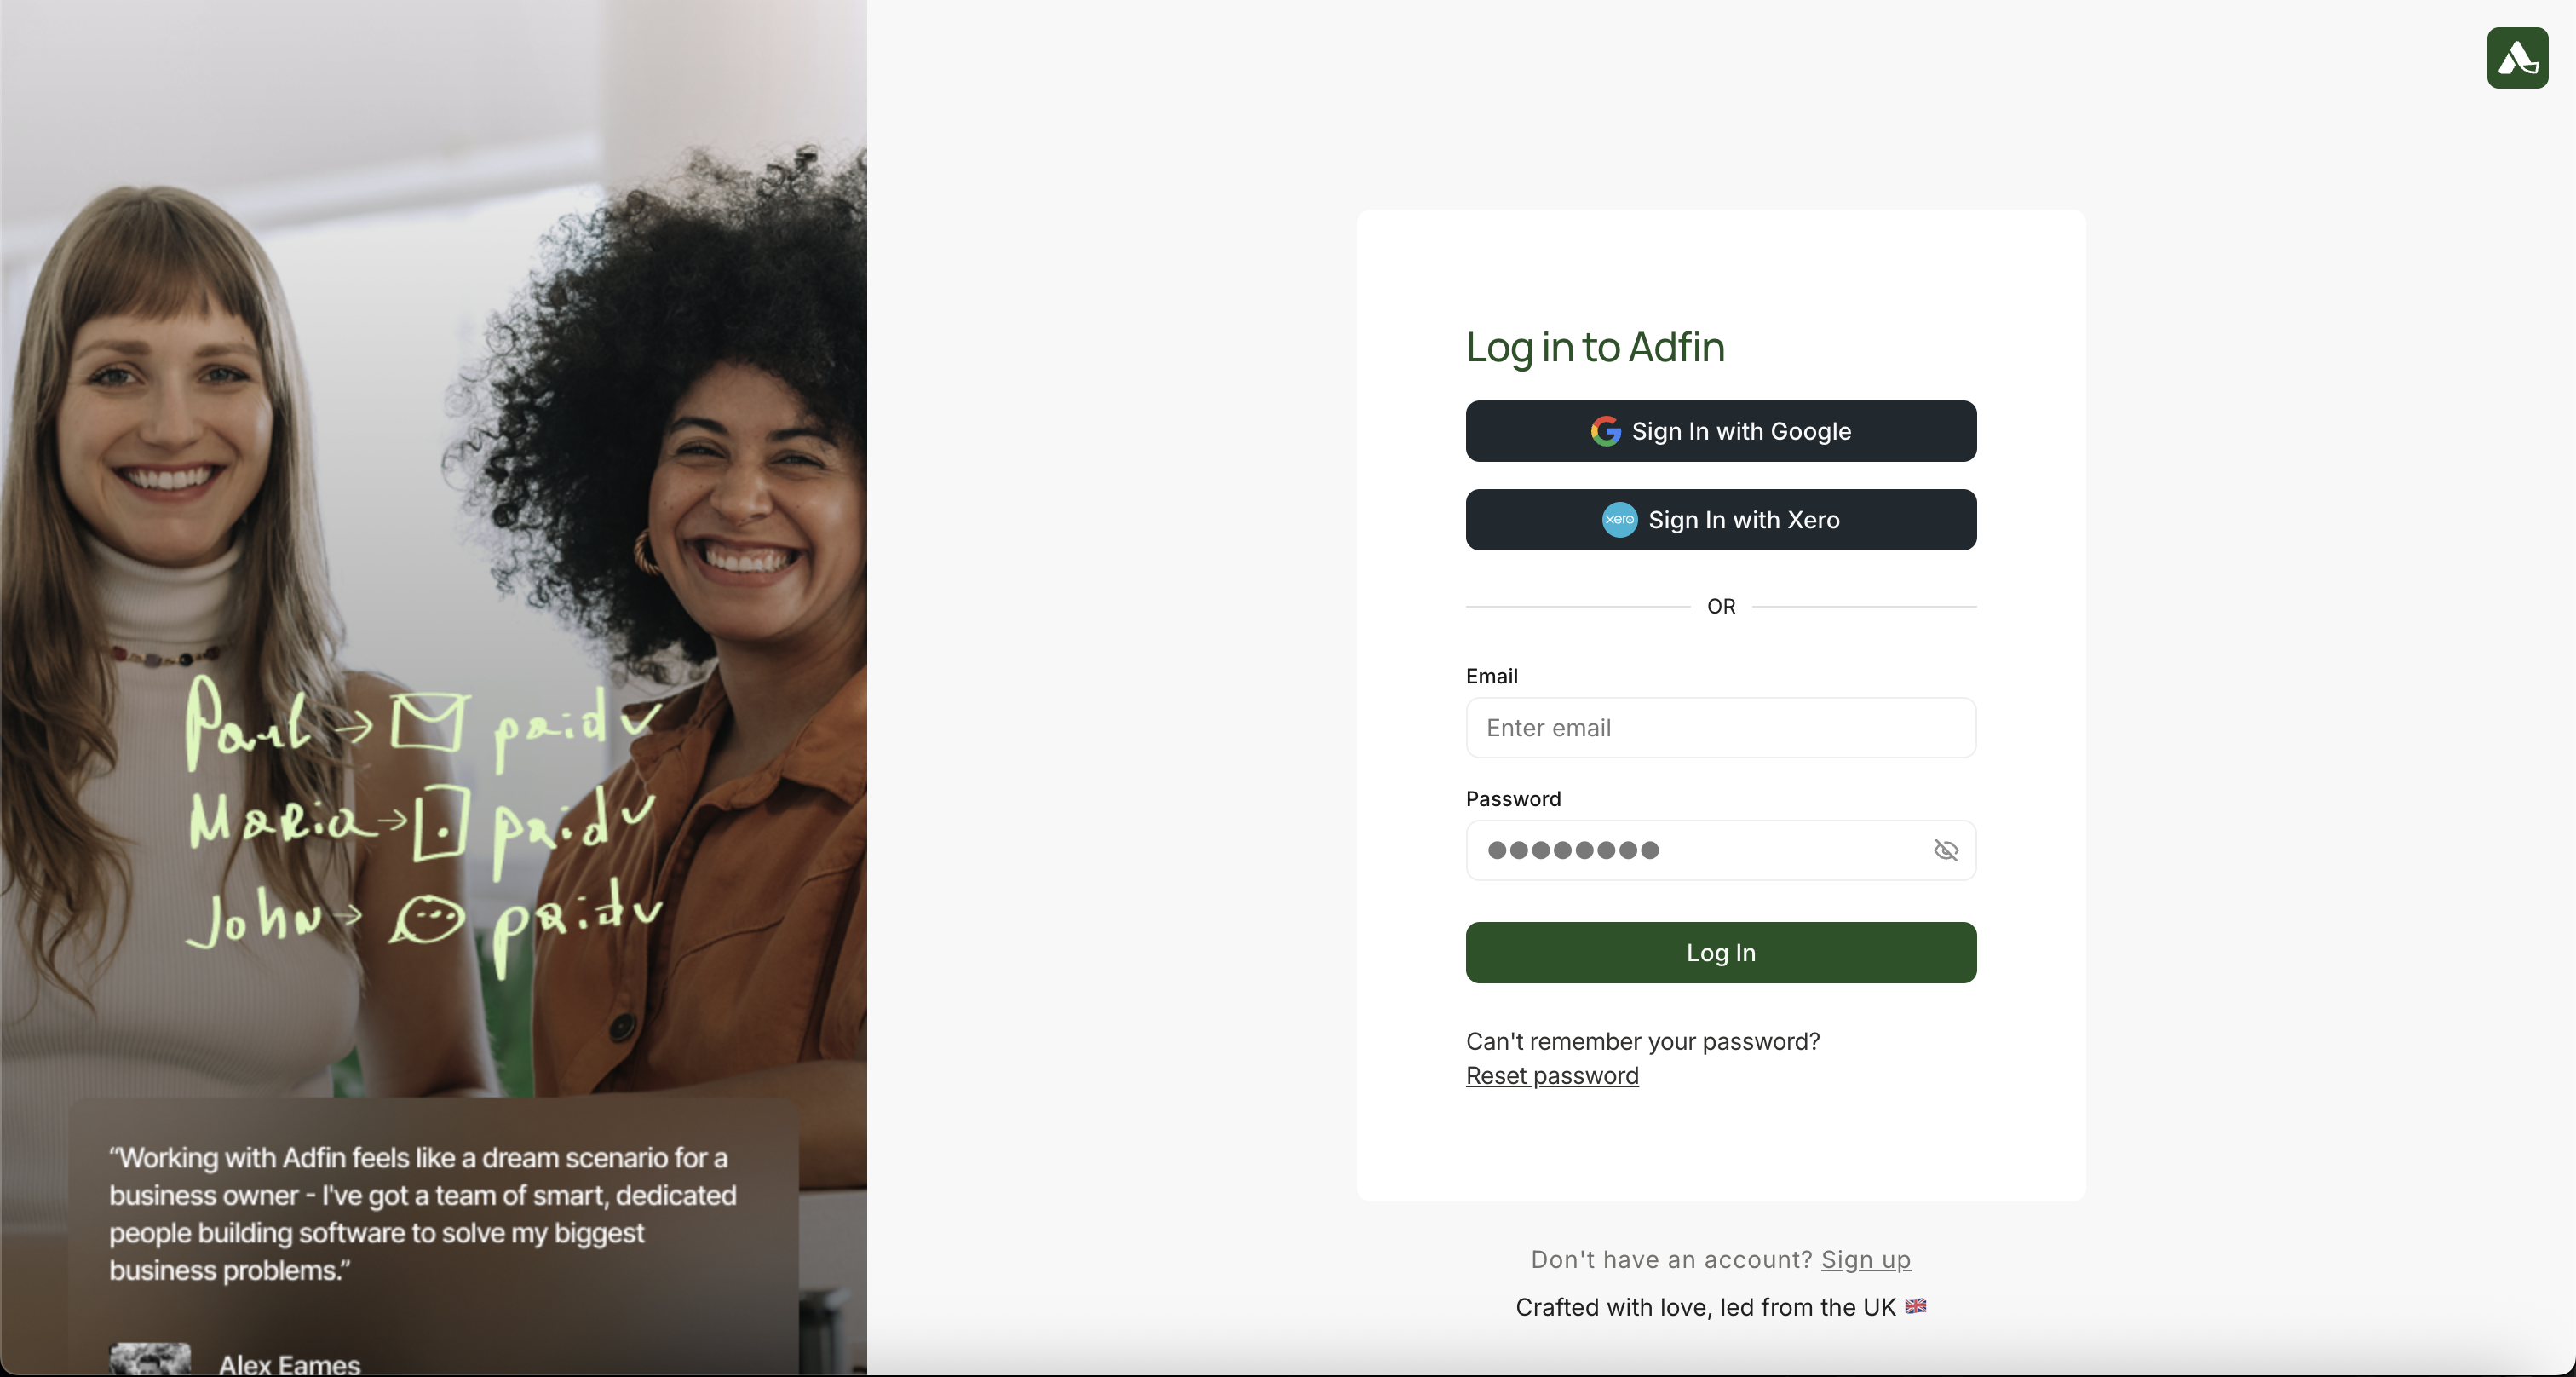
The user will be prompted to login to their account.
Use the hosts for the environment your credentials belong to. The biller login runs on the Adfin Console; every other call goes to the API.
| Step | Staging | Production |
|---|---|---|
| Biller login and consent | https://staging.adfin.com/auth/login | https://console.adfin.com/auth/login |
| Token and refresh | https://api.staging.adfin.com/api/oauth2/token | https://api.adfin.com/api/oauth2/token |
| Revoke | https://api.staging.adfin.com/api/oauth2/revoke | https://api.adfin.com/api/oauth2/revoke |
| API calls | https://api.staging.adfin.com/api | https://api.adfin.com/api |
Redirect the biller to Adfin's authorisation page by constructing your unique authorisation url:
Staging:
https://staging.adfin.com/auth/login?&client_id={your_client_id}&scope=invoices%20customers&redirect_uri={your_redirect_uri}&state={random_state_value}Production:
https://console.adfin.com/auth/login?&client_id={your_client_id}&scope=invoices%20customers&redirect_uri={your_redirect_uri}&state={random_state_value}Use exactly the login addresses above. Adfin's login page builds its return address from whichever address it is opened on, so opening it anywhere else, such as app.adfin.com, ends in a "Callback URL mismatch" error even when your redirect_uri is correct. If your redirect_uri itself is not registered, the biller sees "Invalid redirect URI." when they approve access.
Properties required for oAuth redirect:
| URI Property | Description |
|---|---|
client_id | The client_id of your platform as provisioned by Adfin |
redirect_uri | This is where users will be sent after granting permission to Adfin |
scope | Use the scopes invoices and customers |
state | Required. A random value you generate and check on the callback. Without it, a biller who is already signed in to Adfin goes to their dashboard instead of the consent screen |
After the biller logs in and approves the authorisation, they will be redirected back to the redirect_uri configured in Step 1. Adfin will append a code in the query string, like:
https://your-platform.com/callback?code=[your_authorization_code]&state=random_state_valueOnce you have the authorization code, use this cURL request to exchange it for access and refresh tokens:
Use the same authentication patterns as described at the top of the article: header auth, form parameter authentication.
curl -X POST "https://api.staging.adfin.com/api/oauth2/token" \
-H "Content-Type: application/x-www-form-urlencoded" \
-d 'grant_type=authorization_code&client_id={your_client_id}&client_secret={your_client_secret}&code={authorization_code}&redirect_uri={your_redirect_uri}'| Request data | Description |
|---|---|
grant_type | Set to authorization_code in this step |
client_id | The credentials of your Adfin app |
client_secret | The credentials of your Adfin app |
code | The authorization code from step 2 |
redirect_uri | Must be the same URI used in the initial request. |
| Response data | Description |
|---|---|
access_token | The unique access token (biller access token) |
refresh_token | Refresh token for the billers account |
expires_in | How long the access token is valid for |
token_type | Will return bearer token (eg. Biller access token) |
You can now use the access_token to make authorised requests on behalf of the biller (e.g Create customers on behalf of the biller).
Use the refresh token to request a new access token when the current access token expires. This is critical for maintaining session continuity without requiring the biller to log in again. Below is the process and an example cURL command to guide you.
Our integration uses OAuth2 with refresh token rotation, which requires that:
- Each newly issued refresh token must be used going forward.
- Old refresh tokens should be discarded immediately.
- Concurrent requests must not reuse or fall back to expired tokens.
- Presenting a refresh token that has already been used can revoke every refresh token on that connection, and the biller will need to authorise again.
You must use refresh tokens to generate new access tokens and additional refresh tokens.
curl -X POST "https://api.staging.adfin.com/api/oauth2/token" \
-H "Content-Type: application/x-www-form-urlencoded" \
-d 'grant_type=refresh_token&client_id={your_client_id}&client_secret={your_client_secret}&refresh_token={your_refresh_token}'| Request data | Description |
|---|---|
grant_type | Set to refresh_token |
client_id | Your platform's client_id |
client_secret | Your platform's client_secret |
refresh_token | The refresh token you received during the initial token exchange |
| Response data | Description |
|---|---|
access_token | The unique access token (biller access token) |
refresh_token | Refresh token for the billers account |
expires_in | How long the access token is valid for |
token_type | Will return bearer token (eg. Biller access token) |
- access_token: Expires after 1 hour.
- refresh_token: Expires if it isn't used for 5 days. Every refresh returns a new refresh token with a fresh 5-day window, so a connection can be kept going for up to 1 year from when the biller authorised it. After 1 year, the biller needs to authorise again.
- 401 Unauthorized (
INVALID_REFRESH_TOKEN): The refresh token has expired, has been revoked or is invalid. You will need to prompt the biller to authorise again via the Authorization Code Flow. - 400 Bad request: Incorrect request format or missing required parameters.
- Token rotation: If the response provides a new refresh token, replace the old one in your system. This helps prevent stale tokens.
- Scheduled refresh: Refresh each connection at least once a day, even when there is no activity for that biller, so its refresh token is never left unused for 5 days.
- Token storage: Store refresh tokens securely (e.g., encrypted) to protect against token theft.
- Graceful expiry handling: Always handle the expiration of access tokens by using the refresh token to avoid biller login disruptions.